


APA FOCUS24: The Business of Physiotherapy Recap
Catch up on what you missed from the FOCUS24 conference by The Australian Physiotherapy Association and the exciting top takes from the team at splose.
Events
7 Nov, 2024

Before you can get stuck in, we need just a little information from you.
splose offers specialised practice management software for Allied Health professionals. Ideal for physiotherapists, occupational therapists, speech pathologists, and more.
Optimise your NDIS service delivery with splose's practice management software. Manage service agreements, track cases, and stay on top of utilisation and expiry reminders effortlessly.
splose's practice management system offers versatile, comprehensive solutions for all healthcare professionals. Experience efficiency, accuracy, and ease in managing your healthcare practice.


Catch up on what you missed from the FOCUS24 conference by The Australian Physiotherapy Association and the exciting top takes from the team at splose.
Over two action-packed days, we had a blast at our very first UK event—the CSP Annual Conference 2024!

Could this be the end of forgotten passwords? Introducing SSO.

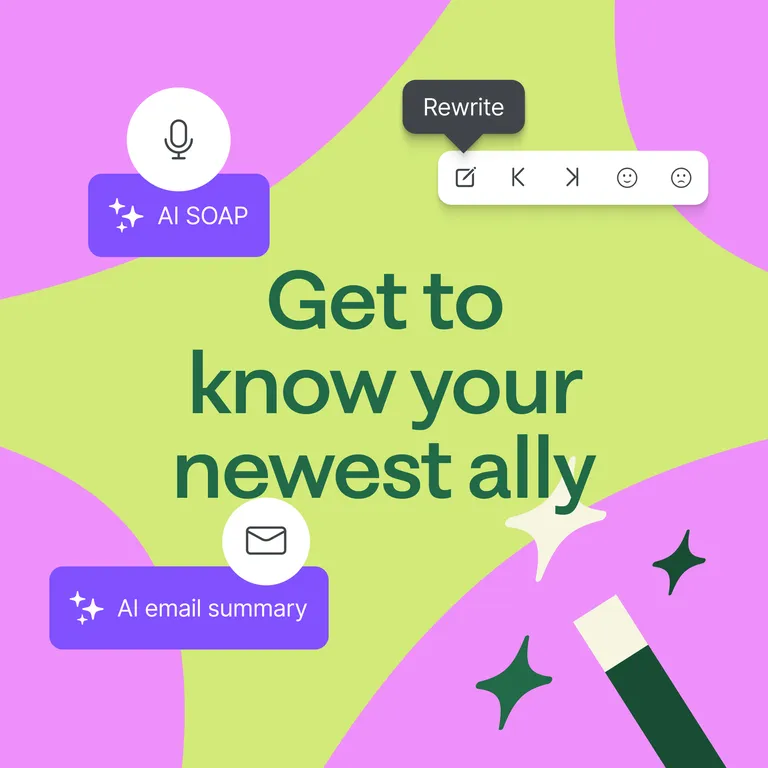
This powerful tool is designed to streamline your documentation process by automatically populating essential details, so you can focus on providing the best care for your clients.

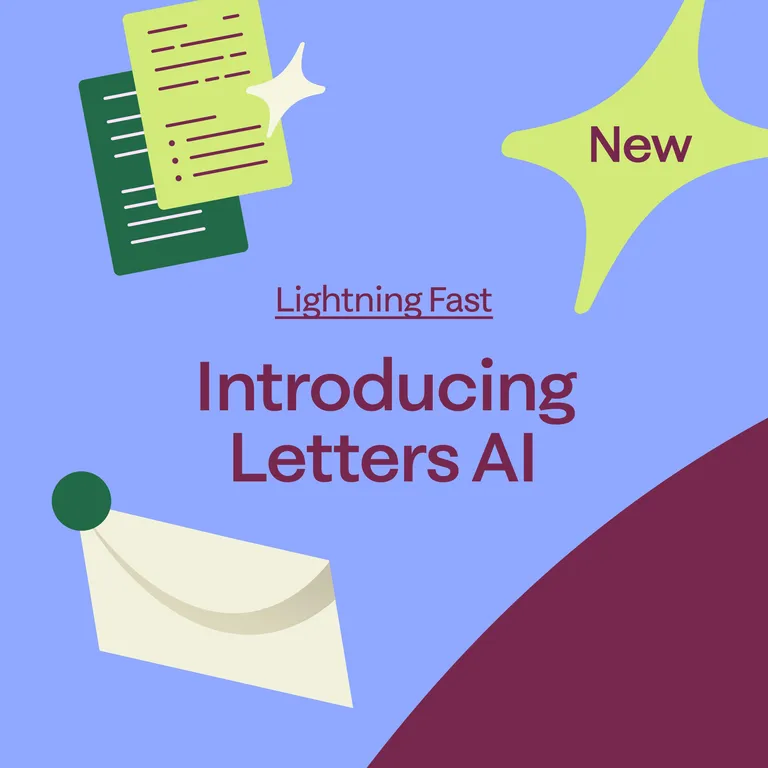
As an Allied Health professional, you understand the critical role that well-crafted letters play in patient care. That’s why we’re thrilled to introduce Letters AI—a game-changer for your practice.
Let splose AI carry a bit of the grunt work, so you can focus on what you do best – caring for your clients.
splose is the powerful practice management software putting thousands of hours back into the hands healthcare professionals across the globe.

Thank you to everyone who attended the event and came to say 'Hello!'

Kia Ora, New Zealand! We’ve officially landed on New Zealand soil, and we’re so excited to be here.

We had a blast attending the Speech Pathology Australia 2024 Conference as an official sponsor in Perth.

This latest enhancement allows users to personalise and streamline the information they collect and maintain for each client, ensuring that every data point is relevant and valuable to their specific business needs.

